
Welcome to this Free Instagram Reels 5 Day Training
It’s great to have you here!
Over the next 5 days you'll get 1 email per day with that day's video for you to watch, learn, and implement. The email for the Day 1 video is on its way to you now along with a welcome email and they both should land in your inbox in a few minutes. So in the meantime...
Let's set you up for success with the boring yet important details:
1. Save support@jonathantilley.com to your contacts so all of the Reels Training emails land in your inbox and not your spam folder
2. If you have any difficulties accessing this free training please email me at support@jonathantilley.com and I'll be in touch asap to help you out. You can even reply back to this email if you want.
3. If you want to access all 5 videos in this training to watch when time allows click the button below to go to the Free Reels 5 Day Training main menu. That's the one place you can access everything. Feel free to bookmark that link to refer back to later.

Now for something exciting!
To keep you accountable so you can chart your progress through this free 5 Day Training, I’ve created done for you Instagram Story (yes, Story) graphics for you to post after you complete each day’s video.
To start you off right now, click the button below to download this free graphic for you to post to your Instagram Story (yes, Story) and fill in the blank with 1 thing you’re excited to learn in this free course!
Remember to mention @mycontentcalendar_ in your Story so I can cheer you on!
And that's it for now. Now go and devour this Free Reels 5 Day Training!
Click the button below to go to the Free Instagram Reels 5 Day Training main menu where you can access all 5 videos now.

Instagram Reels Free 5 Day Training Main Menu
After you create 1… (or more than 1 Reel;-) remember to use the hashtag #mccreels in that Reel so I can find you, cheer you on, and give you feedback! Also follow the My Content Calendar Instagram account for even more Reels tips.


Day 1: Find + Save Trending Audio

You’re doing great!
Stay accountable, chart your progress, and keep me in the loop of how you’re doing!
Click the button below to download this free graphic for Day 1 to post to your Instagram Story (yes, Story) and fill in the blank with 1 thing that you learned today.
Remember to mention @mycontentcalendar_ in your Story so I can give you a virtual high five!
Take Action Now
Turn the “save your reels to your phone” switch on to always save your Reels to your phone.
Default the front camera to be the camera of choice when filming your Reels.
Optimise your Reels camera toolbar by choosing either left or right side if you are left or right handed.
Be aware of how long you want your Reel to be and choose your Reels length before your start filming.
Make sure your Instagram account allows you to use copyrighted music for Reels.
Click on the audio button to dive in to the audio section.
Start saving audio from Reels research, from your favorite artists, from the creators page, and when you find a trending audio that vibes with you then you should definitely save it as well!
And after saving all of this audio for the Reels you will create during this training, keep in mind what people were doing to those specific pieces of audio so you can put your own twist to it when you start filming your Reel to that saved audio.
You don’t have to create a Reel today if you don’t want to but…if you DO then after you create 1… (or more than 1 Reel;-) remember to use the hashtag #mccreels in that Reel so I can find you, cheer you on, and give you feedback!

Day 2: Play with Speed, Timer, + Align

You’re making massive strides!
Look at you rockin’ the speed, timer, + align features. Now it’s time to stay accountable.
Click the button below to download this free graphic for Day 2 to post to your Instagram Story (yes, Story) and fill in the blank with 1 thing that’s exciting about these features.
Remember to mention @mycontentcalendar_ in your Story so I can sing your praises!
Take Action Now
Understand the different playback speeds and what effect they can have on your Reels.
When creating a Reel, if you can, find YOUR favorite part of the audio and use that.
No matter if you are creating a Reel with only 1 clip or multiple clips, get into the habit of using the timer so you don’t look stressed or rushed in your Reel.
If you are creating a Reel with more than one clip and want to have a seamless transition then use the align feature.
Remember to stay out of the dead zone when filming your Reel.
And if you are doing a point to text style reel remember to take a tiny step back to fit you and the text into your Reel.
Now its time to create your first Reel of this training. With the saved audio you have, create 1 Reel that vibes with you. If you want to use a few things that you learned about today - speed, timer, and align - then go for it.
PLEASE don’t feel like you have to use everything that you learned today in 1 Reel! That’s insane, will not be humanly possible, and if you actually did pack absolutely everything you learned to day into 1 Reel I think the Instagram app would explode.
So go easy. Start small. Do the things that you’re curious about and leave the rest for another day. The main thing is to have fun. Remember, no overthinking!
After you create 1… (or more than 1 Reel;-) remember to use the hashtag #mccreels in that Reel so I can find you, cheer you on, and give you feedback!

Day 3: Create On Brand Reels


You’re crushing it!
Look at you creating on brand Reels. I’m so proud of you.
Now it’s time to share your progress with the world.
Click the button below to download this free graphic for Day 3 to post to your Instagram Story (yes, Story) and fill in the blank with 1 way you’re going to create on brand Reels.
Remember to mention @mycontentcalendar_ in your Story so I can do a happy dance for you!
Take Action Now
Decide where you should create your on brand Reels and what you can wear to look your best.
Brainstorm all of the minor inconveniences, extreme emotions, boring tasks, and before and after ideas you can use for Reels.
Consider creating a second character to really bring home the point and punchline of your Reels.
Entertain the thought of trying to do a difficult trend and purposely failing at it.
Think of the text you want to put on top of your Reel. Is it just one big text that will be there throughout? Is it more of a pointing at text style of Reel? Or is it a Them / Me style of Reel?
Solidify for yourself that your Reel should start off with a hook to stop the speedy scrollers.
And if you’re feeling overwhelmed then remember to not overthink Reels. Literally just don’t think. AT ALL!
Then go for it! You now know all the different styles for you to create on brand Reels that are aligned to your business. Now go back to your saved audio, find the ones that vibe with you, decide which style of Reel you’d like to do, play with speed, timer, and align features, and create 1… or more than 1 Reel!
After you create 1… (or more than 1 Reel;-) remember to use the hashtag #mccreels in that Reel so I can find you, cheer you on, and give you feedback!

Day 4: Edit Your Reels To Perfection

Smoooooth editing skills alert!
Yeah I’m talking about you! Now you know exactly what to do to edit your Reels to perfection. But don’t forget to stay accountable.
Click the button below to download this free graphic for Day 4 to post to your Instagram Story (yes, Story) and fill in the blank with 1 thing you’re grateful to have found out about editing Reels.
Remember to mention @mycontentcalendar_ in your Story so I can cheer you on!
Take Action Now
Play around with creating 2 or more clips in 1 Reel.
Get to know how to trim a clip so you can save time and not have to refilm everything.
If you want to add an effect on top of your Reel remember to add it in before filming, not after.
Always save your Reels to your phone.
If you don’t have this turned on as automatic already then you can save them when editing.
Play around with how you want your audio settings to be depending on the Reel you are creating.
Don’t worry about stickers or drawings on top of your Reels. Save that for Stories.
Always add text on top of your Reels to drive home the point and punchline.
Your homework for today is to implement what you’ve learned and create 1… or more than 1 Reel. Find your saved audio, plan out your Reel’s idea so it’s on brand with your business, play with the speed, timer, and align features, and now edit them to perfection.
After you create 1… (or more than 1 Reel;-) remember to use the hashtag #mccreels in that Reel so I can find you, cheer you on, and give you feedback!

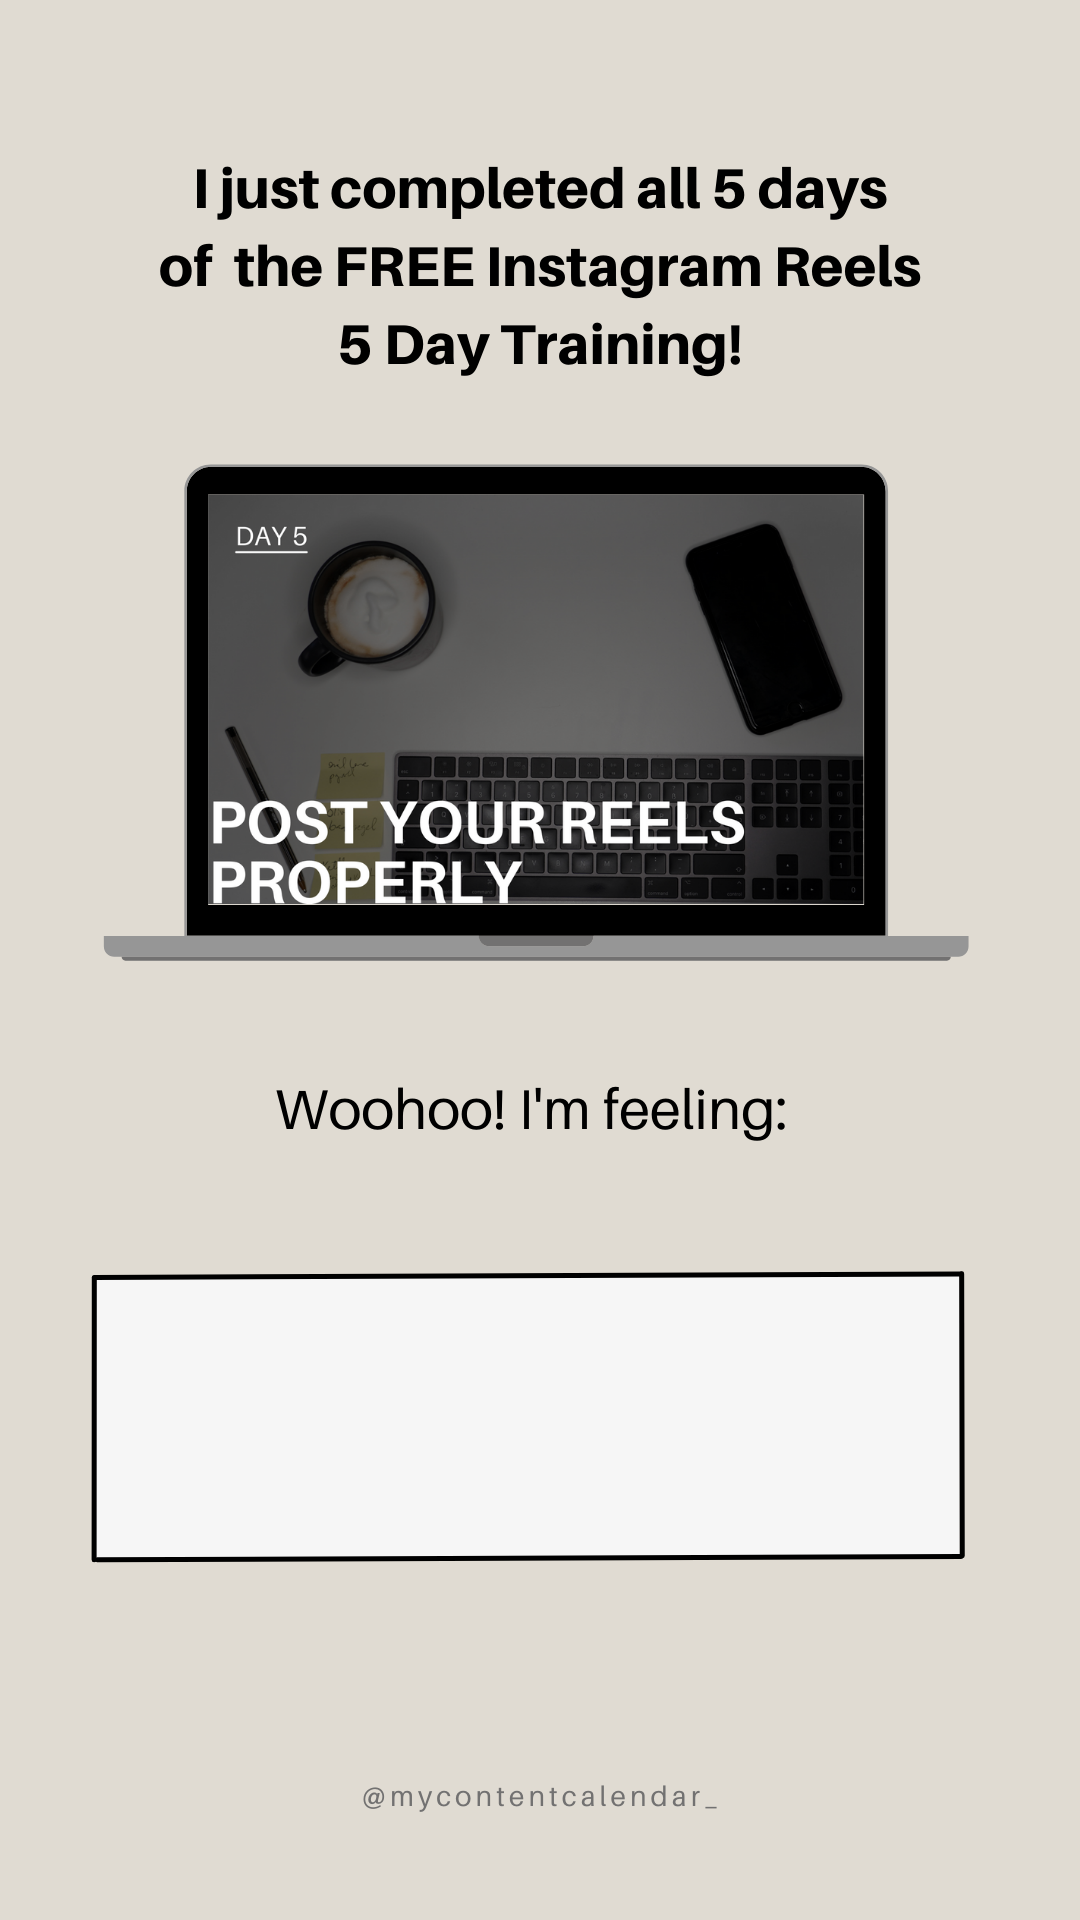
Day 5: Post Your Reels Properly

You made it!
Congratulations. You completed all 5 days! Share how you’re feeling with us!
Click the button below to download this free graphic for Day 5 to post to your Instagram Story (yes, Story) and fill in the blank with how you’re feeling.
Remember to mention @mycontentcalendar_ in your Story so I can celebrate with you!
Take Action Now
Turn the “also post to feed” button to on so your Reels are always posted to your feed.
Write short and sweet captions.
Choose the cover you want or upload a cover from Canva.
Make sure you crop your cover so it also fits the feed square format.
Tag people only if they are in the Reel itself (or if they give you permission like I am to tag @mycontentcalendar_ in your Reel so I can cheer you on!)
Don’t rename the audio. It looks tacky.
Run though the check list on if you’re ready to post your Reel. If you’re not ready to post your Reel yet then save it in drafts and continue to batch and drip.
And by goodness by golly, do NOT log out or uninstall the Instagram app when you have Reels drafts saved. They will be deleted instantly and we don’t want to have that, now do we?!
After you create 1… (or more than 1 Reel;-) remember to use the hashtag #mccreels in that Reel so I can find you, cheer you on, and give you feedback!

GAIN INSTANT ACCESS TO PART 2 OF THIS REELS TRAINING
BY JOINING THE MY CONTENT CALENDAR ONLINE COURSE AND GET YOUR 16 MONTH PLANNER

Reels Training Answer Vault

GAIN INSTANT ACCESS TO PART 2 OF THIS REELS TRAINING
BY JOINING THE MY CONTENT CALENDAR ONLINE COURSE AND GET YOUR 16 MONTH PLANNER
Watch the Q&A Session replay below to get my detailed answers to tons of questions or scroll down to get my written out answers as well!
Q: My son calls me cringe. He’ll see me filming a reel and say, “OMG mom that is so cringe. Please do not post that. That is ridiculous. I have vicarious embarrassment for you.” What do I do?
A: Say this to him: “Thanks for your support, son.” Then roll your eyes at him and his unsolicited feedback machine abilities. And finally, tell your son to pack his bags, move out, get a job, and start to live in the real world. If he still wants to live under your roof, and if you are the one bringing in the money that houses, feeds and clothes him, then he better sit down, shut up, and let you market your business however you darn well please via Instagram Reels. Rant over.
Q: Do Reels disrupt your feed?
A: You should always post your Reels to your feed. Let go of the myth that you must have a perfectly aesthetically pleasing feed and share your Reel to your feed. If you still are adamant about having a beautifully curated feed then you have 2 options that you’ll learn about in Day 5. Option 1 is choosing a cover from your Reel that is the best frame of your Reel that you can use for the pic on your feed. Or Option 2 is to create a cover in Canva that you can upload to your phone’s camera roll and then upload as your Reel’s cover. If your business has to do with visuals (like a photographer, a graphic designer, or an interior designer) then I’d suggest Option 2 if you really want to put in the work. But really having an aesthetically pleasing feed went out the window when Reels came in and took over. So focus less on having a beautifully curated feed and focus more on creating the best Reels you can make.
Q: I have a private account. Are Reels relevant for me if my account is private?
A: Reels are all about reach and discovery. If your Instagram account is set to private then only your followers that you’ve accepted to view your account’s content will see your Reels. Anyone that is not a follower that you’ve accepted to view your content will not see your Reel. So there are 2 options: Option 1 is to keep your account private and only have your Reels shown to your followers and not get any reach or Option 2 is to switch your account over from private to public to get more reach with Reels. I’d highly suggest Option 2.
Q: As a woman, I’m concerned about how I look and how I come off in my Reels. Insecurities creep up and I just don’t want to to do. What do I do?
A: How you look as a woman there’s more pressure on women to look a certain way and when being goofy or showing your double chin and messy hair is that running through your mind or are you just going out there and having fun? Start to not care as much because it hinders you you’re not in the moment you’re not being the most authentic version of yourself. Will this really be important in 5 years from now? Or will this be a moment in time that you can look back on and say hey I did this back then and I’m proud of that.
Q: Reels doesn’t go automatically to your feed right?
A: No you have to switch it on to also share to your feed. You’ll learn about that on Day 5. But if you create a Reel now then create it and then right before posting switch the share also to feed button on so it’s also posted to your feed.
Q: Have you done photo collages for Reels?
A: Photo collages don’t usually work for Reels. Reels are a video format in a specific style. Photo collages don’t fit into the Reels style. One way of showing lots of different pictures in a Reel is to have each picture be shown on the down beat of the audio that you’re using which will take a ton of time to get right and the effect will be fast. But if you want to share pictures where your followers can look at the images in their own time then I’d suggest posting those images as a normal post on your feed, but not as a Reel.
Q: Do you have to decide your Reels length before you record your Reel?
A: It’s ideal to decide how long your Reel will be before you create the Reel. That said, here are 2 examples of how Instagram will help you make this decision. If you choose 30 seconds for your Reels length then choose audio that is only 8 seconds long for example, you will only be able to record an 8 second Reel. So in this case your Reels length has been decided for you. On the other hand if you have chosen to record a Reel for 15 seconds and the audio you want to use is 20 seconds long for example, your Reels length will be 20 seconds. In this case your Reels length has also been decided for you. Instagram wants to make your Reels filming experience as seamless as possible and adjusting the length of your Reel to fit the audio is how they help out. But, it’s always a good practice to choose the length of your Reel in the beginning to make sure you have enough time to record a spoken word Reel for example.
Q: Is tagging someone in the caption of your Reel the same as mentioning someone in a Story?
A: Yes. You’ll learn all about tagging in a Reel on Day 5.
Q: What should I put for text on Reels?
A: Day 4 is all about what to write and where to place your text on top of your Reel. That said, adding text on top of your Reel is instrumental in fitting the format and style of Reels. Posting a Reel without any text on top looks strange, it’s rarely done, and when it is done then there’s no context and the point or punchline is lost completely. So always add text on top of your Reel.
Q: Could I make a reel where I show my self-care process on when I don’t book a gig?
A: YES! This is great for to show how you can transform not so great news into something positive and keep going forward with your dream. Rejection is part of the job and if you have a self-care process on how to deal with rejection then turn that into a Reel and share it. it will not only help you as social accountability to yourself but it will also inspire others to be kind to themselves when putting their art out into the world.
Q: When I save my Reel as a draft, can I go back and edit the text on top?
A: No. That’s why it’s important to create your Reel and edit it to the way you like it so it’s publishable, and then click on save as draft. otherwise you won’t be able to edit the text on top after you’ve saved it to drafts.
Q: How can you see the words when you try to lip-sync?
A: You can’t. You have to memorise the lyrics that you are lip syncing to. Luckily Reels are short so you idon’thave to memorise a lot all at once.
Q: Can you create your Reel in iMovie, upload it to Reels, and then trim it inside the Reels creation editing section?
A: No. The video that you recorded cannot be trimmed inside the Reels trimmer. I mean, yes you could trim the beginning or the end of the video that you uploaded but you might as well do that in iMovie or whatever video editing software you are using. If you do create and edit a video in iMovie and upload it as a Reel you can still add filters and add text on top when editing your Reel. That’s the good news. So if you want to create your own Reel outside of the Reels creation screen then edit it exactly how you want it, then upload it to the Reels creation screen, add your set on top and a filter if you like, and then your Reel is ready to go. We go deeper into this in Part 2 of the Instagram Reels trading inside the My Content Calendar course.
Q: Every reel I do it feels like look at me content and not learn from me content?
A: The funny thing is the people that think they are creating look at me content AREN’T creating look at me content. They are creating learn from me content. Learn about me. Learn more about what I do in my creative freelance business. Etc. The ones that are creating look at me content are the ones posing half naked, doing literally nothing, thirst trapping their way through Instagram. That’s not you. Just because you are showing your face in your Reels does not mean you are creating look at me content. It’s the CONTEXT of what you are showing in your Reel that deciphers if it’s look at me or learn form me content.
Q: Can I use the same videos clips over and over as Reels?
A: Smart question. Yes. You can. This is pretty advanced so follow these steps to get it right. The main thing is that the Reel you create has the same audio to it. So film the Reel and save it to your phone. Don’t put text on top. Just save the Reel. Then when you want to reuse that Reel later on click on the same audio that you used when you filmed that first Reel. Then upload the saved Reel from your phone. The audio should math perfectly. On the edit screen add your text on top. Ten click on the audio settings and turn the video you uploaded from your phone down to 0 so the Reels audio is heard best. Then post your Reel. This is along the lines of creating a series which we go into in Part 2 of the Reels Training inside the My Content Calendar online course.
Q: What’s the best way to batch and drip Reels?
A: Set a date in your schedule to put on some nice clothes and make yourself look camera ready. Create as many Reels as you like. Edit them to perfection to the point of almost posting them. But then save them in drafts. Then put your comfy clothes on. Now you have a lot of Reels already recorded that you can drip out slowly over the next few days or week.
Q: If you update the app will you lose the drafts?
A: Yes. BEFORE you batch and drip and create tons of Reels that will be saved in Drafts, update the Instagram app. Make sure it’s running on the most up to date version. Then batch your Reels and save them in Drafts. If you do it the other way around and batch your Reels, save them in Drafts, then update the Instagram app you will lose all of your hard work that’s been saved in Drafts.
Q: Because when you do the interview its vertical, would you crop it out so it can fit to the media?
A: Repurposing long form content into Reels format. 16:9 talking head turned into Reels. or an interview with 2 people you have to edit it to perfection and crop it that they are in the centre of the screen when vertical.
Q: Can you merge 2 different audios into 1 Reel?
A: No. You have to use the audio that is given to you to create the Reel. That said there are people that somehow record 1 Reel’s audio to their audio editing software on their computers, record another Reel’s audio to their audio editing software on their computers, merge the 2 audios together to create 1 audio, then use that audio as their own original audio and create a Reel to that. Sounds complicated. It is. So unless you’re a professional DJ that uses audio to get people up dancing around, it’s not worth the time or energy to create a mixed audio version of something for a Reel that will last 5-15 seconds. It might sound cool but no one will be interested in how you did it unless you’re a DJ. So stick to using trending audio that vibes with you, don’t overcomplicate it, don’t mix your own audio, save that time and energy to create more Reels.
Q: I am building a grid. Would it make a sense to go every third posting to be Reel?
A: The great thing about Reels is that you can upload a cover that fits to your aesthetically pleasing grid. If your business has to do with visuals like an interior designer or a graphic designer then you might want to consider having an aesthetically pleasing grid. If you don’t work in those files then you don’t need an aesthetically pleasing grid. But if you do want your Reels to look a bit more branded, then create a cover in Canva, upload it to your phone, and use that cover for your Reel’s cover and then post your Reel. Then you idon’thave to worry about posting every third post as a Reel. You can post a Reel whenever you want and have it look aesthetically pleasing and fit into your Feed’s grid seamlessly.
Q: Is it good to use hashtags in reels?
A: Hashtags are overrated and a waste of your time and energy. Use 3-5 hashtags that related to your Reel. Save your time and energy when stressing about hashtags and focus your time and energy into creating on brand Reels that speak to your dream client.